| Previous - Running ArtiCAD For The First Time. | Return to Index. | Next - Setting up your design. |
Before you start, it is important to familiarise yourself with the main planning screen.

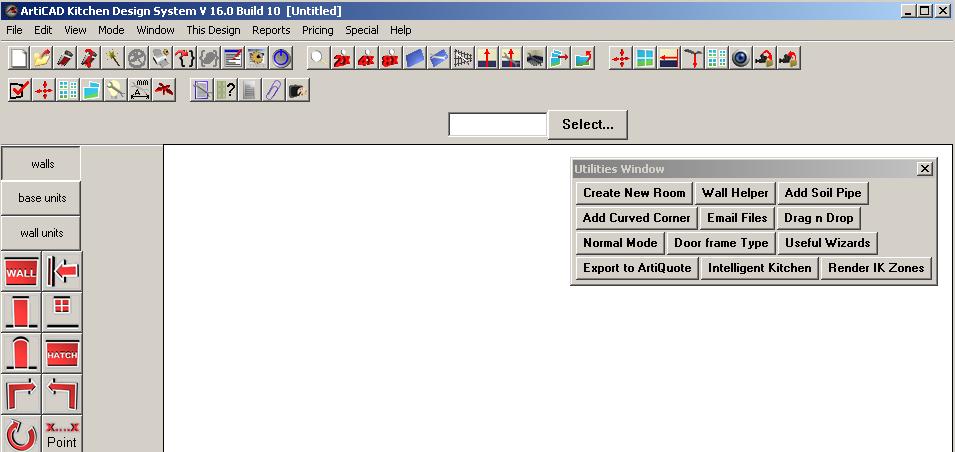
The title bar tells you which version of ArtiCAD you are using (in the above image that is Version 16.0 build 10) and the current room system you are working in (in this case Kitchen). "[Untitled]" means that the current design has not been saved. Once it has been saved the name of the saved plan will appear.
Return to top.

Along the top of the window are the menus - File, Edit, View, Mode etc. Take a moment to look in each menu. The contents of each menu will be refered to throughout this manual. "File" - "Save" means you should click on the "File" menu, then select "Save" from the options within. A full list of the menus and their associated toolbar buttons can be found in Appendix 4. Menus.
Return to top.

The buttons on the menu toolbars correspond to an entry under a menu. See Configuring Toolbars for details.
Return to top.

Shows the Select button (labelled "Select...") andto the left of that the Select Box (currently empty).
Pressing the "Select..." button allows you to search for specific items to include in your design. This is covered in more detail in Adding Units.
The Select Box has a number of uses. Details of the currently selected unit appear in the box. You can also enter a shortcut code into the Select Box for a particular unit. To the left of the unit it will display details of the preceeding item, and to the right details of the next item in your design. This is covered in more detail in Adding Units - Alternate Method.
Return to top.

A design is made up of three layers:
Change the layer you are currently working in by clicking the relevant button. Changing the layer of your plan will change the units that area available. Units are selected using the buttons that appear underneath the layer selection buttons. These are known as Unit Toolbar Buttons.
Return to top.
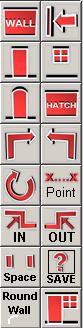
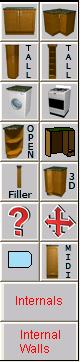

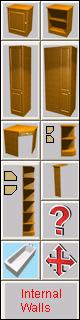
The above images show (from left to right) the Kitchen Walls, Kitchen Base Unit, Bathroom Base Unit and Bedroom Base Unit toolbars. These toolbars are used to add items into your design. This is covered in more detail in Adding your units.
Return to top.
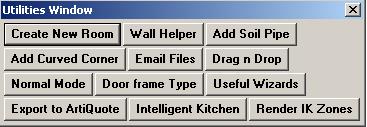
The Utilities window contains shortcuts to various functions within the system. They are covered in detail in Appendix 2. - The Utilities Window. Should the Utilities Window disappear or closed, you can make it re-appear by clicking on the "Window" menu and selecting "Utilities".
Return to top.
Here are the steps you should consider following to produce a finished design. Some steps are optional, and the order in which the steps are completed is not set - this is intended as a guide to get you started. Each section is covered in more detail in the following chapters.
Return to top.